Sewing has always been a relaxing hobby for me, and finding easy pillowcase tutorials turned it into something I could enjoy with my kids, too. Whether you’re new to sewing or just want a quick win, these easy pillowcase tutorials are the perfect place to start.
Table of Contents
I remember using scrap fabric from old bedsheets to follow my first simple pillowcase tutorial, and it turned out way better than I expected. The satisfaction of slipping a handmade pillowcase onto a cushion is like no other!
If you’re searching for beginner pillowcase tutorials, quick pillowcase sewing tutorials, or even DIY pillowcase tutorials using basic stitches, this roundup covers them all. From envelope closures to burrito-style seams, these easy pillowcase tutorials walk you through each step with clarity.
Whether you’re sewing for yourself, your kids, or for gifting, you’ll find the joy in creating something soft, cozy, and personal with just a few materials and the right pillowcase tutorial.
Basic Envelope Pillowcase
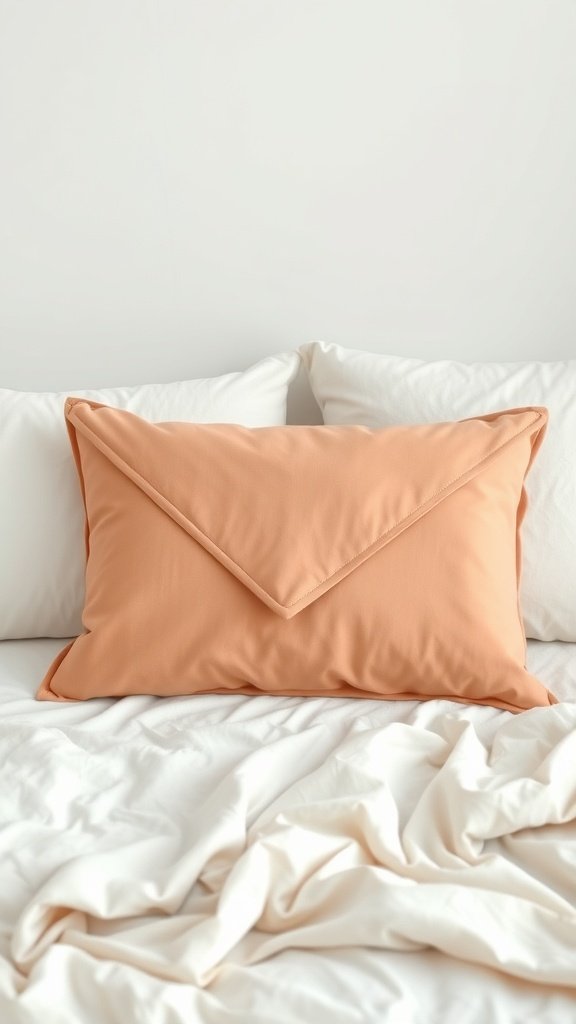
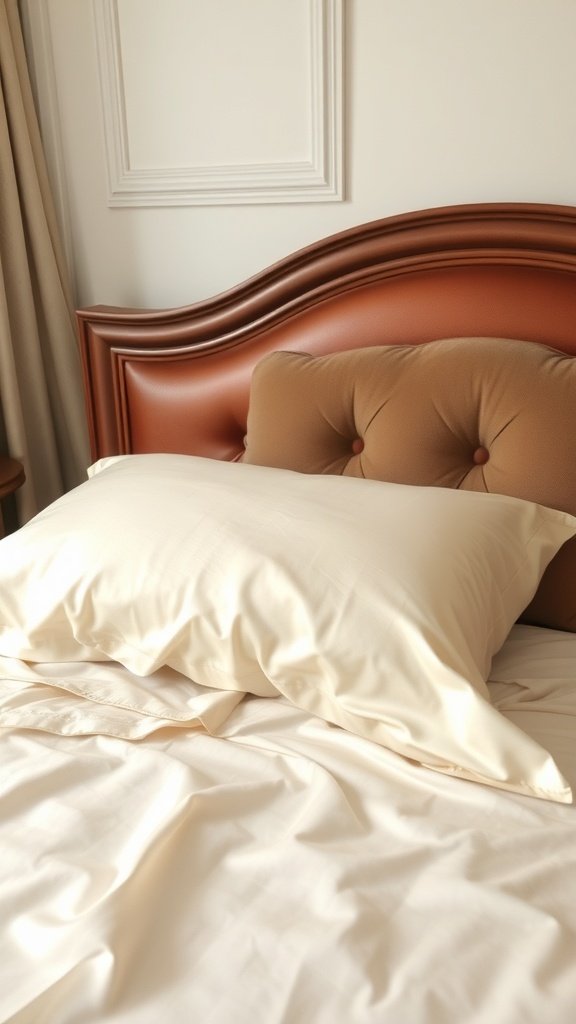
The basic envelope pillowcase is a simple yet stylish option for your home. The image shows a lovely envelope-style pillowcase in a warm peach color, resting on a bed with white linens. This design is not only attractive but also functional, making it a favorite among DIY enthusiasts.
Making your own envelope pillowcase is an easy project that can add a personal touch to your decor. You can choose any fabric you like, whether it’s a solid color or a fun pattern. The envelope style means no zippers or buttons, making it a quick and straightforward sewing task.
Pillowcase with Ruffles
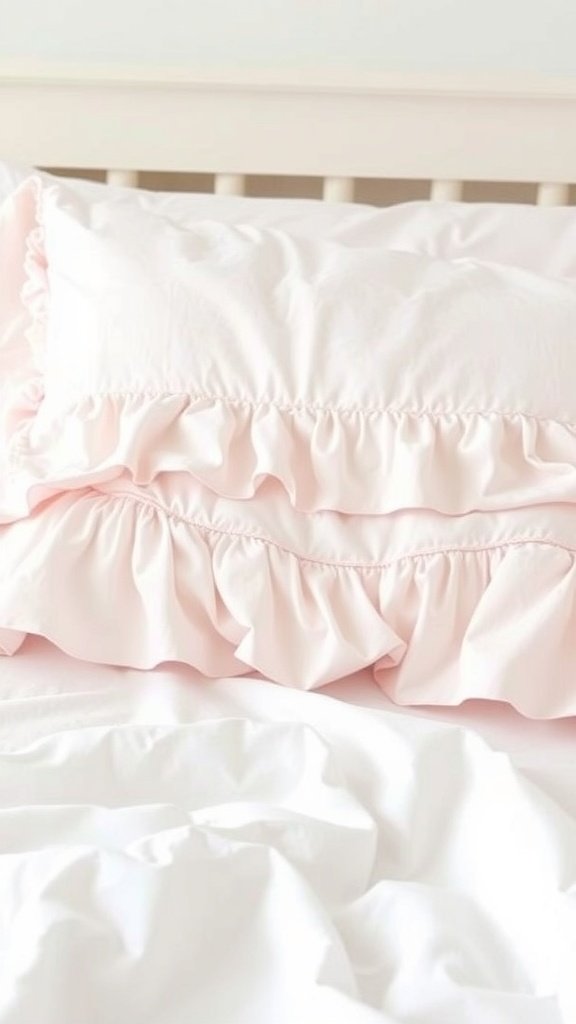
Pillowcases with ruffles add a charming touch to any bedroom. They bring a soft, romantic vibe that can brighten up your space. The image shows a lovely pink pillowcase adorned with delicate ruffles, making it an eye-catching addition to the bedding.
Creating your own ruffled pillowcase is easier than you might think. Start by gathering your materials: fabric, thread, a sewing machine, and scissors. Choose a fabric that complements your bedroom decor.
First, measure your pillow to determine the size of the fabric you need. Cut the main piece of fabric and a separate strip for the ruffle. The ruffle strip should be longer than the pillowcase to allow for gathering.
Next, sew a long stitch along one edge of the ruffle strip. Pull the threads to gather the fabric until it matches the width of the pillowcase. Pin the ruffle to the main fabric, right sides together, and sew it in place.
Once the ruffle is attached, fold the fabric over to create the pillowcase shape. Sew the sides and finish the edges to prevent fraying. Turn the pillowcase inside out, and you’re done!
This simple project not only enhances your bedding but also gives you a sense of accomplishment. Enjoy your new ruffled pillowcase!
Pillowcase with Contrast Trim
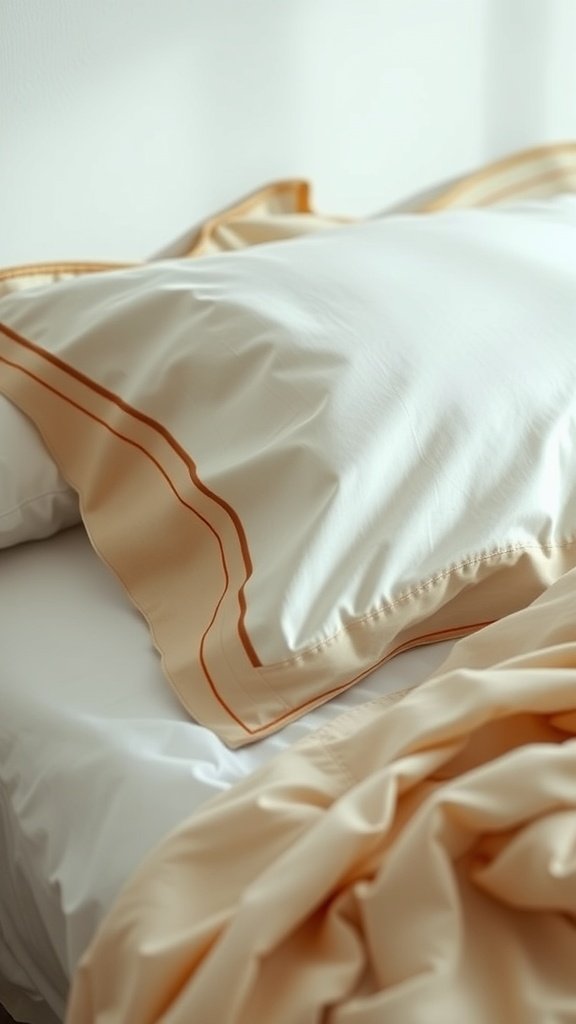
This pillowcase design features a lovely contrast trim that adds a pop of color and style to your bedding. The soft fabric and clean lines make it a great choice for any bedroom decor. The contrast trim not only enhances the visual appeal but also gives a polished look to your pillows.
Making your own pillowcase with contrast trim is easy and fun. Start by choosing your fabric. A solid color for the main body and a complementary color for the trim work well together. Measure your pillow to determine the size of the fabric pieces you’ll need.
Cut your main fabric and trim to the appropriate sizes. For a standard pillowcase, you’ll typically need a piece that is 30 inches by 20 inches for the body and a strip for the trim that is about 2 inches wide. Sew the trim onto the edge of the pillowcase, making sure to align it properly. This step is where the contrast really shines!
Once the trim is attached, fold the fabric, right sides together, and sew the sides and bottom. Turn it inside out, and you’ll have a beautiful pillowcase ready to use. This simple project can refresh your bedroom and showcase your sewing skills.
No-Sew Pillowcase
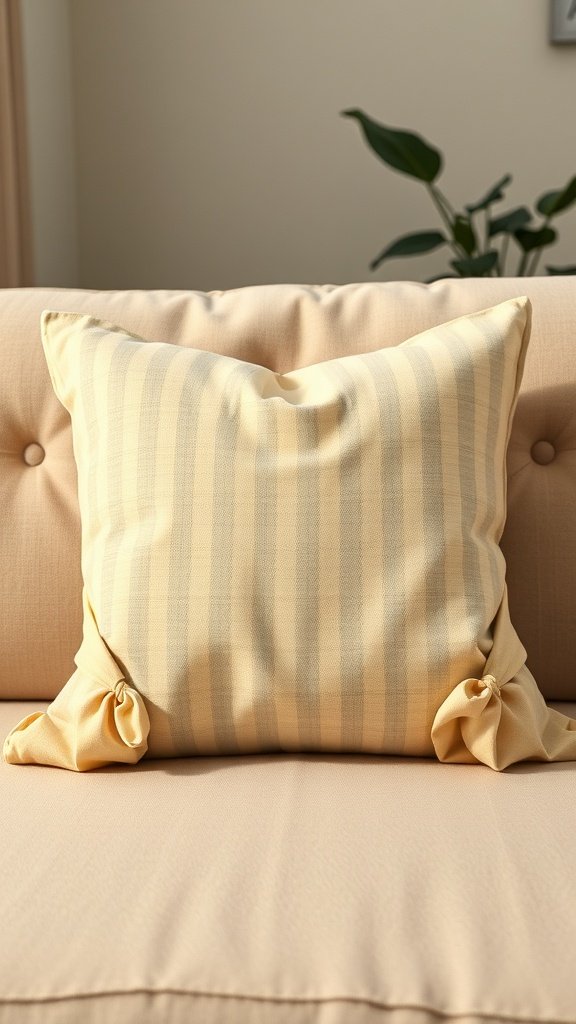
No-sew pillowcases are a fun and easy way to refresh your home decor without the need for a sewing machine. The image shows a lovely striped pillowcase that adds a touch of warmth to any space. This simple project can be completed in just a few steps, making it perfect for beginners or anyone looking to spruce up their living area.
To create your own no-sew pillowcase, start by gathering your materials. You’ll need a piece of fabric, scissors, and some fabric glue or iron-on adhesive. Choose a fabric that complements your home’s color scheme. Once you have everything ready, follow these steps:
1. **Cut the Fabric**: Measure your pillow and cut the fabric to size, leaving extra for the knots. A good rule of thumb is to add about 2-3 inches to each side for a snug fit.
2. **Fold the Edges**: Fold the edges of the fabric over about half an inch and secure them with fabric glue or iron-on adhesive. This prevents fraying and gives a clean finish.
3. **Create the Pillowcase**: Lay the fabric flat, place your pillow in the center, and fold the fabric over the pillow. Tie the corners with small knots to secure it in place. This adds a cute touch and keeps the pillow snug inside.
4. **Final Touches**: Adjust the fabric to ensure it looks neat and tidy. You can also add embellishments like buttons or ribbons for a personal touch.
With just a few simple steps, you can create a beautiful no-sew pillowcase that brightens up your space. Enjoy your new decor!
Patchwork Pillowcase
Patchwork pillowcases are a fun way to add a personal touch to your home decor. They combine different fabric pieces, creating a unique and colorful design. This style not only looks great but also allows you to use up fabric scraps from other projects.
To make your own patchwork pillowcase, start by gathering your materials. You’ll need various fabric pieces, a pillow insert, scissors, a sewing machine, and thread. Choose fabrics that complement each other in color and pattern.
Begin by cutting your fabric into squares or rectangles. Aim for uniform sizes to keep the design neat. Lay them out in a pattern you like before sewing. Once satisfied, sew the pieces together in rows. After completing the rows, sew them together to form the pillowcase front.
Next, cut a piece of fabric for the back of the pillowcase. It can be a single piece or a patchwork design as well. Sew the front and back pieces together, leaving an opening for the pillow insert. Turn the pillowcase inside out, insert the pillow, and close the opening. Your patchwork pillowcase is now ready to brighten up your space!
Zippered Pillowcase
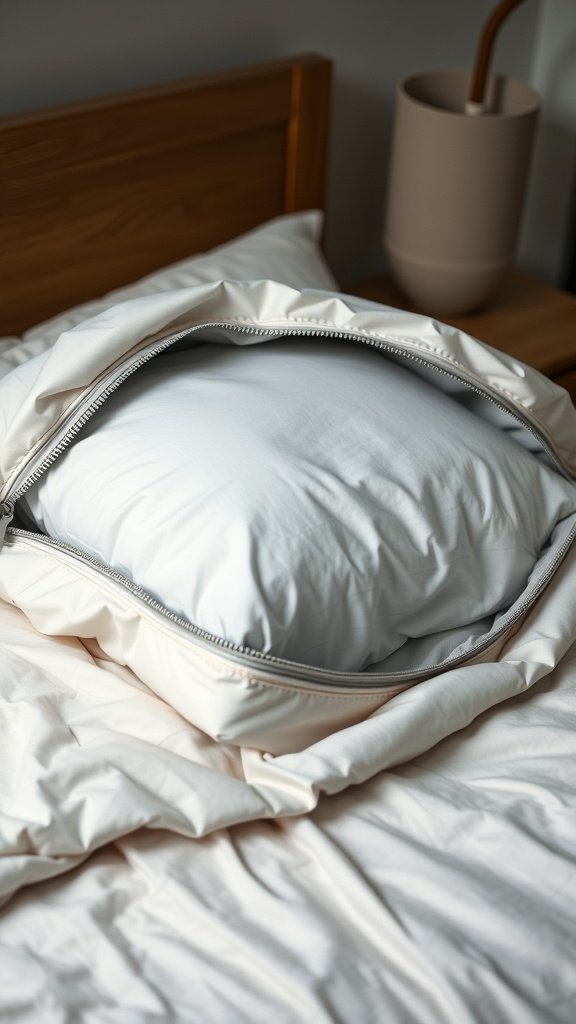
A zippered pillowcase is a stylish and practical addition to your bedding. It keeps your pillow clean and adds a touch of elegance to your bedroom. The image shows a cozy bed with a zippered pillowcase, highlighting its neat design.
This type of pillowcase is perfect for those who want to protect their pillows from dust and spills. The zipper closure ensures that the pillow stays securely inside, making it easy to remove and wash.
Making a zippered pillowcase is simple. Here’s how you can do it:
- Gather Your Materials:You will need fabric, a zipper, scissors, a sewing machine, and thread.
- Cut the Fabric:Cut two pieces of fabric to the size of your pillow, adding an extra inch for seam allowances.
- Attach the Zipper:Place one piece of fabric right side up. Lay the zipper along one edge, right side down. Sew it in place, then repeat with the second piece of fabric.
- Sew the Sides:With the zipper open, place the two fabric pieces right sides together. Sew around the edges, leaving the zipper side open.
- Turn It Inside Out:Once sewn, turn the pillowcase right side out through the zipper opening.
- Insert the Pillow:Finally, place your pillow inside and zip it up!
Now you have a beautiful zippered pillowcase to enjoy!
Reversible Pillowcase
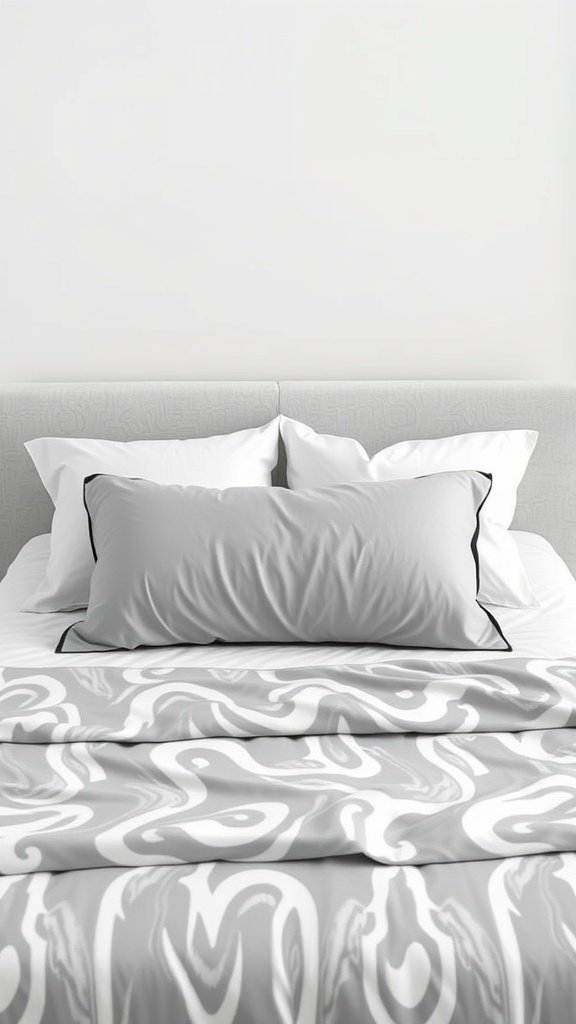
A reversible pillowcase is a fun and practical way to refresh your bedding without spending a fortune. This type of pillowcase features two different designs, allowing you to switch up your decor with ease.
The image shows a beautifully styled bed with a mix of pillows. The pillowcases have a sleek, modern look, with one side showcasing a solid gray and the other side featuring a stylish marbled pattern. This versatility makes reversible pillowcases a great addition to any bedroom.
Making your own reversible pillowcase is simple and rewarding. Here’s how you can do it:
Materials Needed:Two pieces of fabric (each 20×30 inches for standard pillows), sewing machine, thread, scissors, and pins.
Steps:
Start by cutting your fabric into two rectangles, each measuring 20×30 inches. Choose two fabrics that complement each other.
Place the fabrics right sides together, aligning the edges. Pin them in place to keep them from shifting.
Sew along the long sides and one short side, leaving one short side open. Use a 1/4-inch seam allowance.
Turn the pillowcase right side out through the open end. Push out the corners gently to make them sharp.
Fold the open edge inward and pin it. Sew along the edge to close the pillowcase.
Your reversible pillowcase is ready! Slip in your pillow and enjoy the new look.
This project is not only easy but also allows you to express your style. Choose fabrics that reflect your personality and mix them up whenever you want a change!
French Seam Pillowcase
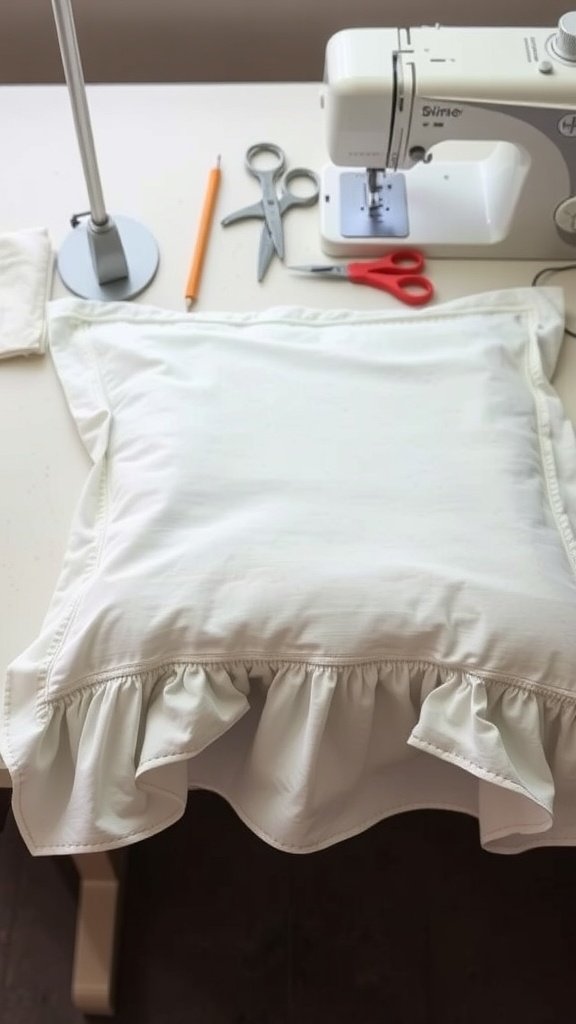
The French seam pillowcase is a stylish and tidy way to finish your pillowcases. It hides raw edges, giving a clean look. This method is perfect for beginners and adds a touch of elegance to your bedding.
In the image, you can see a sewing machine, scissors, and a freshly sewn pillowcase with a ruffled edge. The workspace is organized, making it easy to focus on the task at hand. This setup is ideal for creating a beautiful pillowcase.
To make your own French seam pillowcase, follow these steps:
Materials Needed:
- Fabric of your choice
- Sewing machine
- Scissors
- Measuring tape
- Pins
- Iron
Steps:
- Measure and Cut:Cut two pieces of fabric. For a standard pillowcase, each piece should be about 20 inches by 30 inches.
- Pin the Fabric:Place the two pieces right sides together. Pin along the edges to hold them in place.
- Sew the First Seam:Sew a ¼ inch seam along the pinned edges. This will be the first part of your French seam.
- Trim the Edges:Trim the seam allowance to about 1/8 inch. This helps reduce bulk.
- Press the Seam:Open the fabric and press the seam to one side using an iron.
- Fold and Pin:Fold the fabric over so the right sides are together again, encasing the raw edges. Pin it in place.
- Sew the Second Seam:Sew a ½ inch seam along the edges. This will finish the French seam.
- Turn and Press:Turn the pillowcase right side out and press it again for a crisp finish.
Now you have a beautiful French seam pillowcase! This method not only looks great but also makes your pillowcases more durable.
Knotted Pillowcase
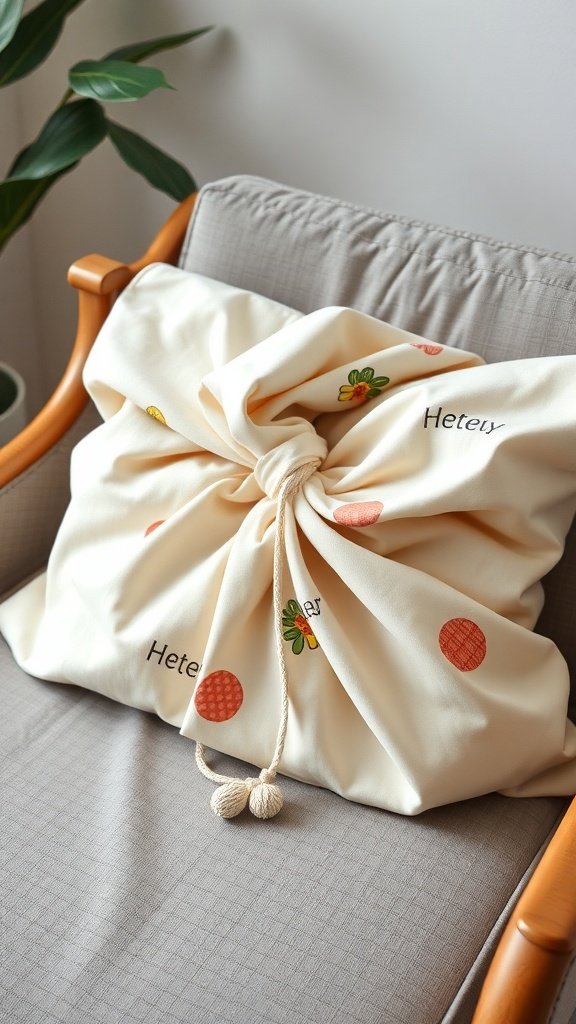
The knotted pillowcase is a fun and stylish way to dress up your pillows. It adds a unique touch to your home decor while being super easy to make. The image shows a beautifully knotted pillowcase with playful patterns, giving it a cheerful vibe.
This design is not only visually appealing but also practical. You can easily remove the pillow for washing, making it a great choice for everyday use. Plus, the knot adds an interesting element that sets it apart from traditional pillowcases.
Pillowcase with a Pocket
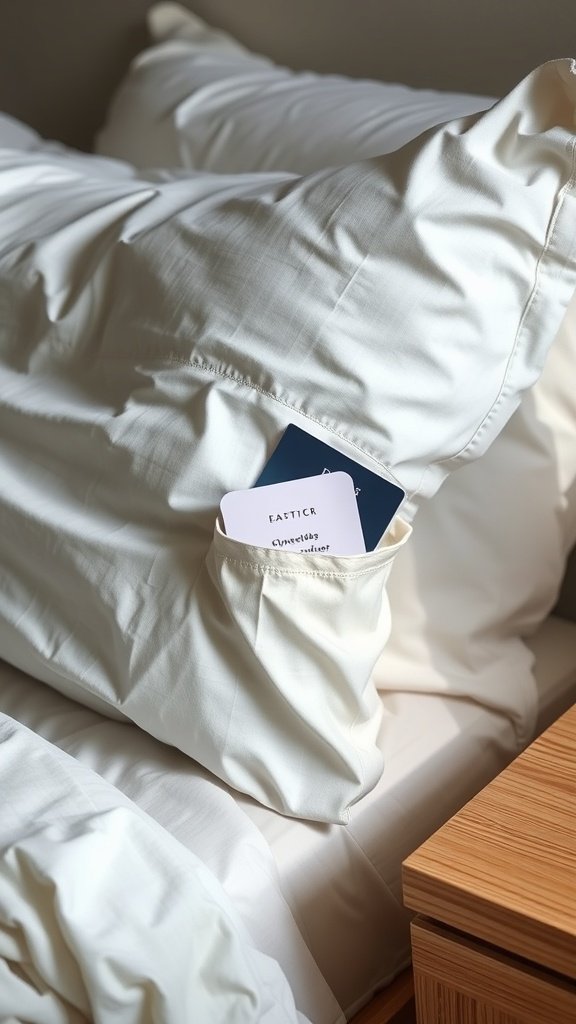
A pillowcase with a pocket is a fun and practical addition to your bedding. It not only adds a unique touch but also serves a purpose. Imagine having a cozy spot for your favorite book or a small remote control right by your pillow. This design makes it easy to keep essentials close at hand.
The image shows a simple yet stylish pillowcase with a pocket, perfectly holding a couple of cards. This clever feature is perfect for those who love to read in bed or need a place for their nighttime essentials. It’s a small detail that can make your bedtime routine a little smoother.
Creating your own pillowcase with a pocket is easy! Start with a standard pillowcase and follow these steps:
Step 1:Choose your fabric. A soft cotton or linen works well for comfort.
Step 2:Cut a piece of fabric for the pocket. It should be about 12 inches wide and 8 inches tall.
Step 3:Hem the edges of the pocket piece to prevent fraying.
Step 4:Sew the pocket onto the pillowcase about 6 inches from the opening. Make sure to secure it well.
Step 5:Finish by sewing the pillowcase closed if it’s not already done.
Now you have a stylish and functional pillowcase that’s perfect for your needs!
Pillowcase with Embroidery
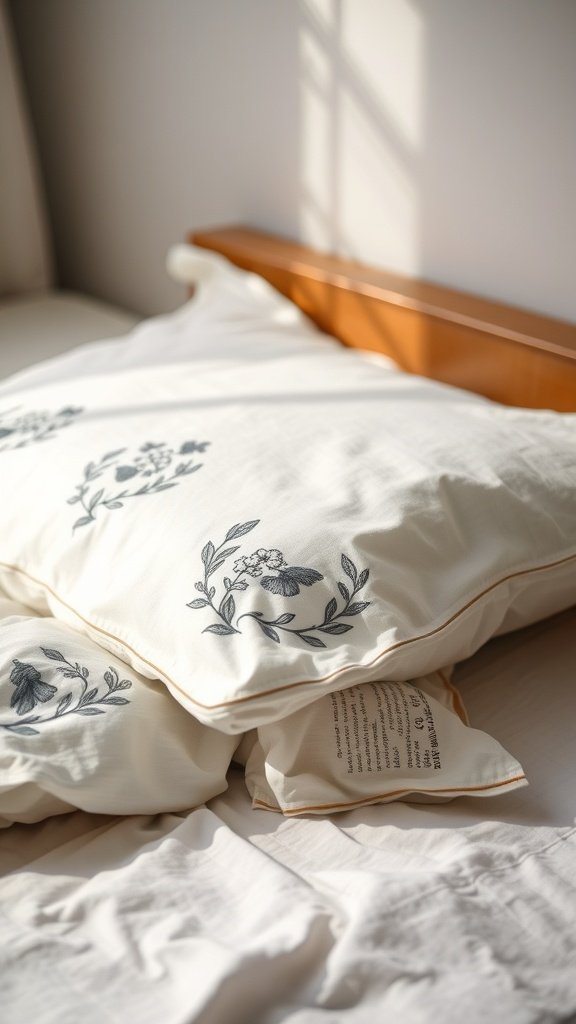
Creating a pillowcase with embroidery adds a personal touch to your bedding. The image shows a beautifully embroidered pillowcase featuring floral designs, which can brighten up any bedroom. This simple project can be a fun way to express your creativity.
To start, gather your materials. You’ll need a plain pillowcase, embroidery thread, a needle, and an embroidery hoop. Choose a design that you love. You can find many free patterns online or create your own.
Next, prepare your pillowcase. Place it in the embroidery hoop to keep the fabric taut. This makes stitching easier. Then, thread your needle and start stitching your design. Take your time and enjoy the process. If you make a mistake, don’t worry! It’s all part of the learning experience.
Once you finish, remove the pillowcase from the hoop and give it a gentle wash to remove any markings. Iron it if needed, and your custom embroidered pillowcase is ready to use. This project not only enhances your space but also makes for a thoughtful gift.
Pillowcase with Appliqué Design
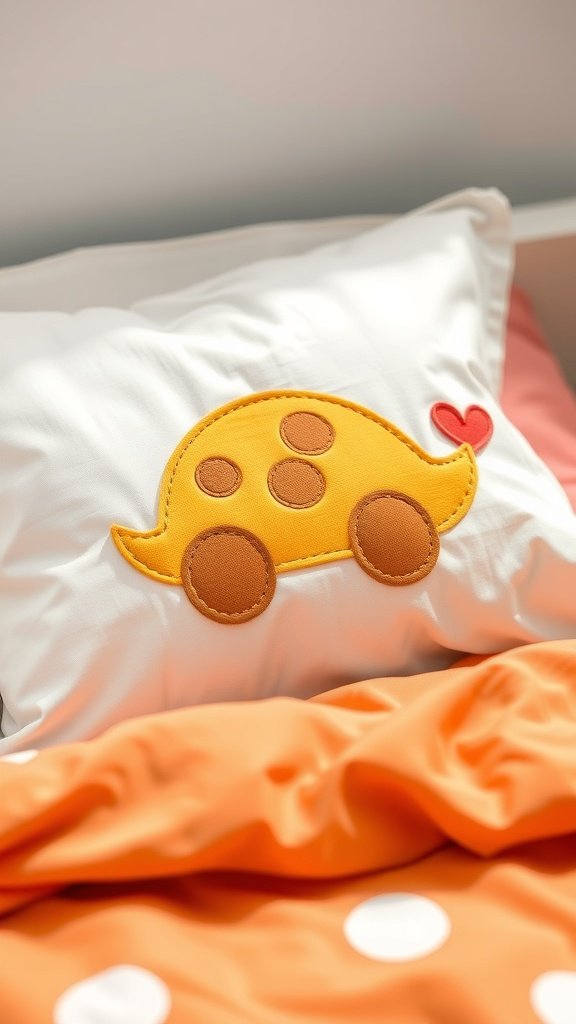
Creating a pillowcase with an appliqué design is a fun and creative way to personalize your bedding. The image shows a cheerful yellow car with brown wheels and a red heart, making it perfect for a child’s room or anyone who loves a playful touch.
To start, gather your materials. You’ll need a plain pillowcase, fabric scraps in various colors, fabric glue or a sewing machine, and scissors. Choose your design and cut out the shapes from the fabric. For our car design, you’ll need yellow for the body, brown for the wheels, and red for the heart.
Next, position your cut-out shapes on the pillowcase. Make sure they are placed just right before securing them. If you’re using fabric glue, apply it generously to the back of each piece and press them down firmly. If you prefer sewing, pin the pieces in place and sew around the edges for a more durable finish.
Once everything is secured, let it dry if you used glue. After that, your new pillowcase is ready to brighten up your space! This project not only adds a personal touch to your home but also makes for a great gift.
Pillowcase with a Button Closure
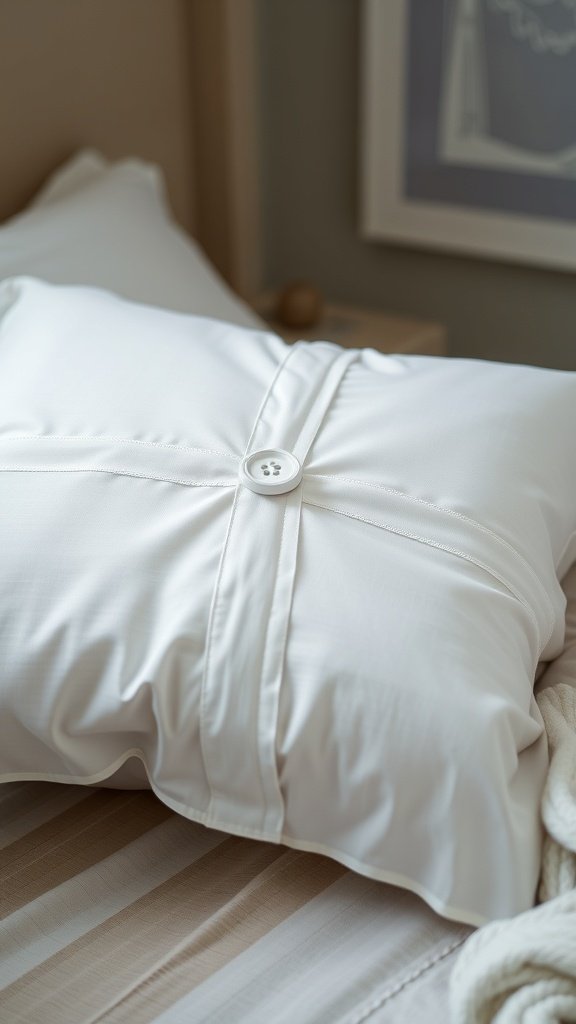
This pillowcase design is both practical and stylish. The button closure adds a unique touch, making it easy to remove and wash. It’s perfect for those who want a clean look without sacrificing functionality.
To create your own button closure pillowcase, start by choosing your fabric. A soft cotton or linen works well. Cut two pieces of fabric to your desired pillow size, adding an extra inch for seams. Next, sew the pieces together, leaving one side open.
For the button closure, fold over the open edge and sew a channel for the button. Attach the button securely. Finally, turn the pillowcase inside out, insert your pillow, and enjoy your new creation!
Flannel Pillowcase for Winter
Winter is the perfect time to cozy up with soft, warm fabrics. A flannel pillowcase adds a touch of comfort to your bedding, making those chilly nights feel a lot cozier. The image shows a lovely plaid flannel pillowcase that brings a festive vibe to the room.
To make your own flannel pillowcase, start by gathering your materials. You’ll need a yard of flannel fabric, scissors, a sewing machine, and some thread. Choose a flannel pattern that suits your style, like the classic red plaid seen here.
Next, measure your pillow. A standard pillow is usually 20×26 inches. Cut two pieces of flannel, each measuring 21×27 inches. This extra inch gives you room for seams. Lay the fabric pieces right sides together.
Now, sew along the long sides and one short side, leaving one short side open. Turn the pillowcase inside out, so the right side is facing out. Iron the seams for a neat finish. Finally, insert your pillow and close the open end with a simple hem stitch or by sewing it shut.
Your flannel pillowcase is now ready to snuggle with! Pair it with warm blankets and festive decorations for a winter wonderland in your bedroom.
Pillowcase with a Floral Print
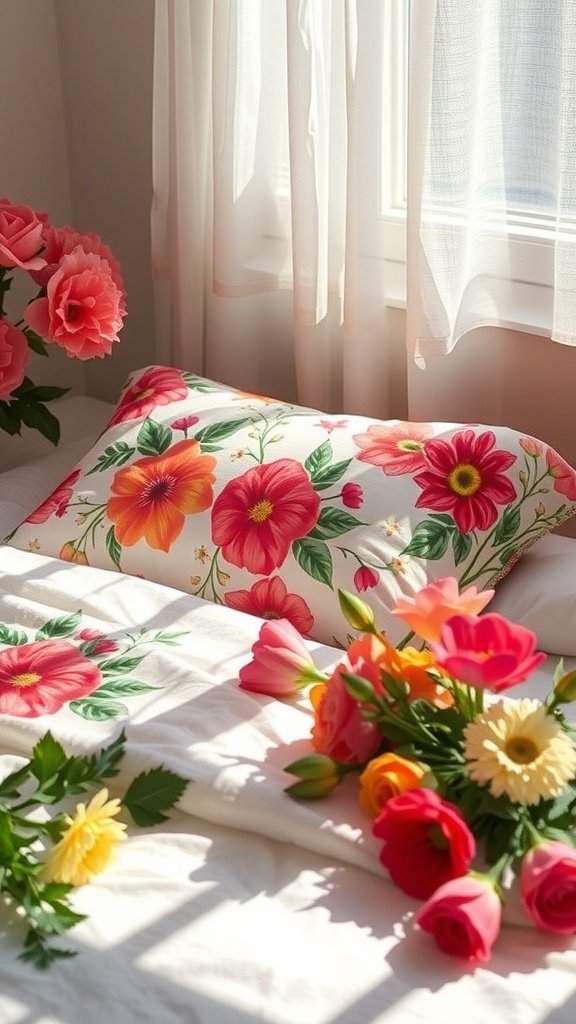
This floral print pillowcase is a delightful addition to any bedroom. The vibrant colors and beautiful flower designs bring a touch of nature indoors. It’s perfect for brightening up your space and adding a cheerful vibe.
Making this pillowcase is easy and fun. Start by choosing a floral fabric that you love. You can find many options at fabric stores or online. Measure your pillow to determine how much fabric you need. A standard pillow usually requires about 1 yard of fabric.
Next, cut the fabric to size. You’ll want to cut two pieces: one for the front and one for the back. Don’t forget to leave extra fabric for seams. Once you have your pieces, it’s time to sew! Place the right sides of the fabric together and sew along the edges, leaving one side open.
After sewing, turn the pillowcase inside out. This will hide the seams and show off the beautiful floral print. Finally, iron the pillowcase to smooth out any wrinkles. Insert your pillow, and you’re done! Enjoy your new floral pillowcase that adds a fresh touch to your decor.
Fleece Pillowcase
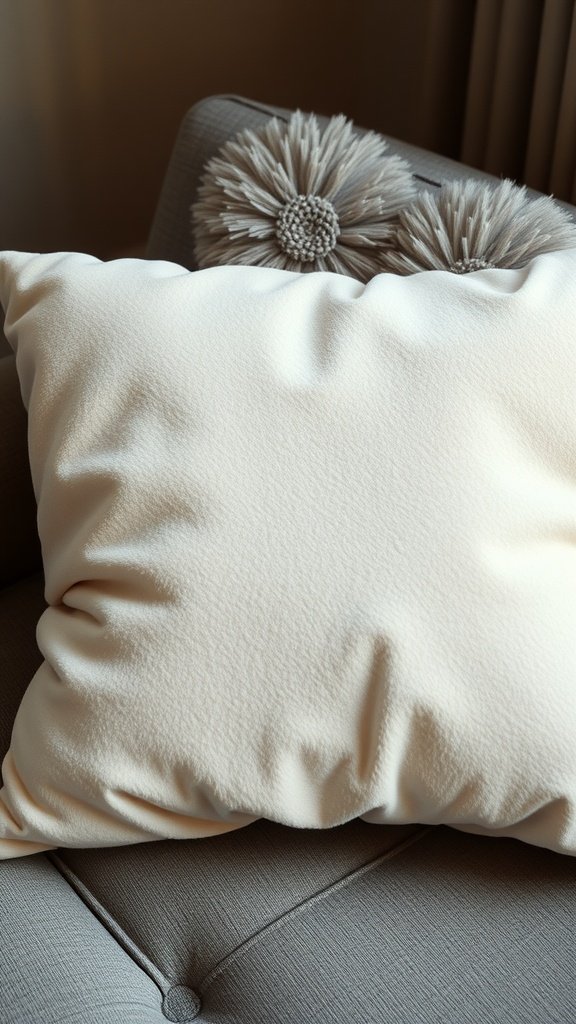
Fleece pillowcases are a cozy addition to any bedroom. They are soft, warm, and perfect for snuggling up with on chilly nights. The image shows a plush, cream-colored fleece pillowcase resting comfortably on a stylish gray couch. This simple yet inviting design adds a touch of comfort to your home decor.
Making your own fleece pillowcase is easy and fun! Here’s how you can create one:
Materials Needed:
- 1 yard of fleece fabric
- Scissors
- Measuring tape
- Sewing machine or needle and thread
Steps:
- Measure Your Pillow:Start by measuring the dimensions of your pillow. A standard pillow is usually 20×26 inches.
- Cut the Fabric:Cut two pieces of fleece fabric. Each piece should be slightly larger than your pillow measurements to allow for seams.
- Pin the Fabric:Place the two pieces of fleece together, with the right sides facing each other. Pin around the edges to keep them in place.
- Sew the Edges:Sew around the edges, leaving a small opening on one side for turning the pillowcase inside out.
- Turn It Inside Out:Carefully turn the pillowcase right side out through the opening.
- Insert the Pillow:Place your pillow inside the case and tuck it in snugly.
- Close the Opening:Sew the opening closed by hand or machine.
And there you have it! A cozy fleece pillowcase that’s perfect for adding warmth and style to your space.
Striped Pillowcase

Creating a striped pillowcase is a fun and easy project that can brighten up your bedroom. The image shows a simple white pillow on a bed, hinting at the potential for a stylish design. Stripes can add a modern touch and are versatile enough to fit various decor styles.
To make your own striped pillowcase, start by gathering your materials. You will need fabric in your chosen colors, a sewing machine, scissors, and thread. Measure your pillow to determine the size of the fabric pieces you need.
Next, cut your fabric into strips. You can alternate colors for a bold look or stick to shades of the same color for something more subtle. Once your strips are ready, sew them together to create a single piece that matches the size of your pillow.
After that, fold the fabric over the pillow, right sides together, and sew the edges. Leave one end open for inserting the pillow. Turn the case right side out, insert your pillow, and close the open end with a simple stitch. Voila! You now have a stylish striped pillowcase that adds a personal touch to your space.
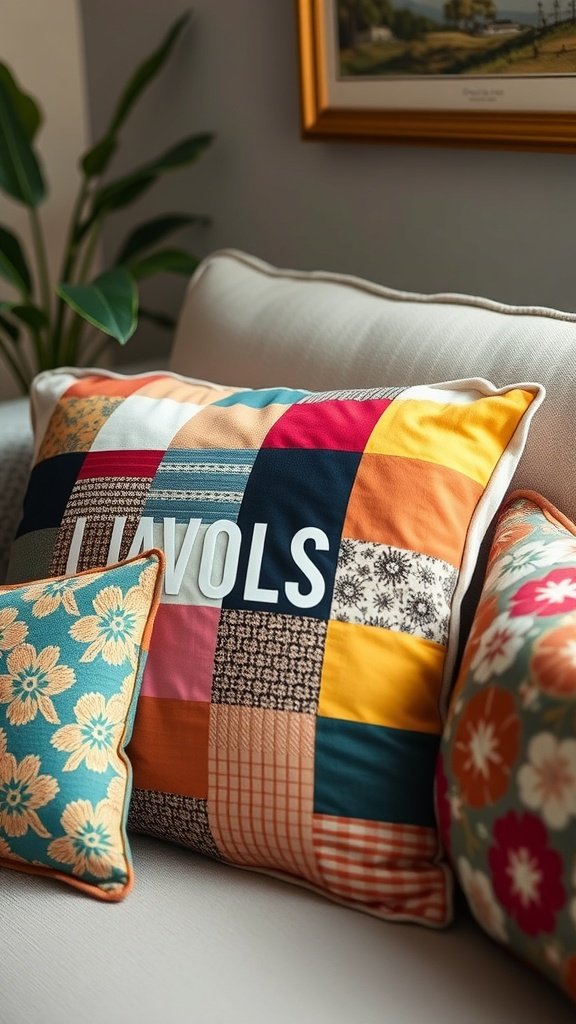
Pillowcase with a Fun Pattern
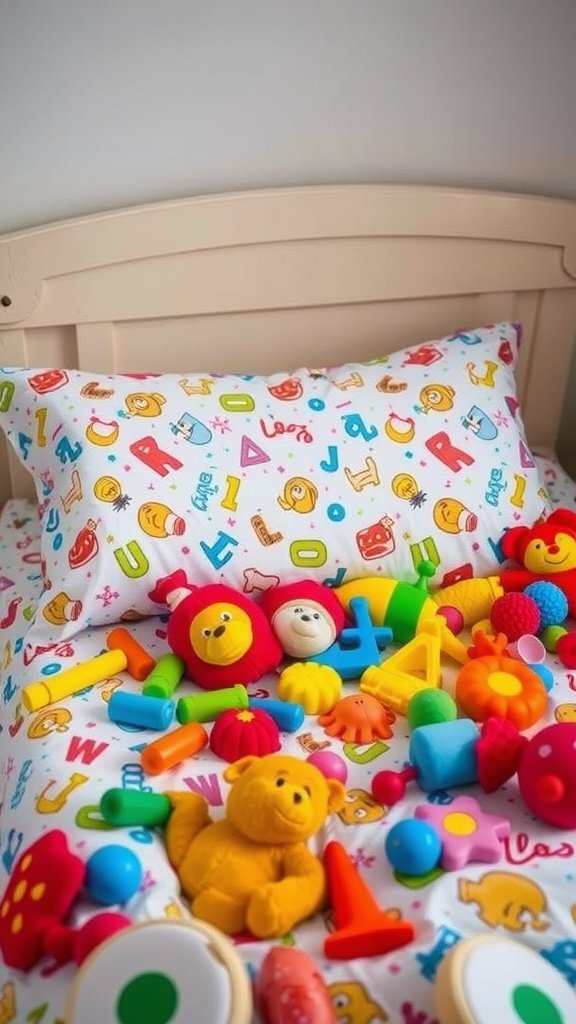
This pillowcase is a delightful blend of colors and playful designs. It features various letters, shapes, and cheerful characters that make it perfect for a child’s room. The bright patterns can spark imagination and create a fun atmosphere.
Creating a pillowcase like this is a simple project that can add a personal touch to your child’s bedding. You can choose fabric that reflects their interests, whether it’s animals, letters, or favorite colors. The steps are easy to follow, making it a great DIY activity.
To make your own fun-patterned pillowcase, start by gathering your materials. You’ll need fabric, a sewing machine, scissors, and thread. Cut the fabric to the size of your pillow, leaving extra for seams. Then, sew the edges together, ensuring to keep the fun pattern aligned. Finally, turn it inside out, insert the pillow, and enjoy the cheerful addition to the room!
Silk Pillowcase for Hair Care
Silk pillowcases are a fantastic choice for anyone looking to take better care of their hair while they sleep. The smooth surface of silk reduces friction, which helps prevent hair breakage and frizz. If you’re tired of waking up with tangled hair, a silk pillowcase might just be the solution you need.
To create your own silk pillowcase, start by gathering your materials. You’ll need silk fabric, a sewing machine, and some basic sewing supplies like scissors and thread. Measure your pillow to determine the size of the fabric you’ll need. A standard pillowcase size is about 20 by 26 inches.
Next, cut two pieces of silk fabric to your desired size. Make sure to leave an extra inch on each side for seams. Now, place the two pieces together with the right sides facing each other. Sew along the edges, leaving one end open for inserting the pillow. Turn the pillowcase inside out and give it a good press with an iron to smooth out any wrinkles.
Finally, insert your pillow into the case and enjoy the benefits of silk. Not only will your hair thank you, but your skin will also benefit from the gentle touch of silk. It’s a simple and effective way to upgrade your sleep routine!
Pillowcase with a Seasonal Theme
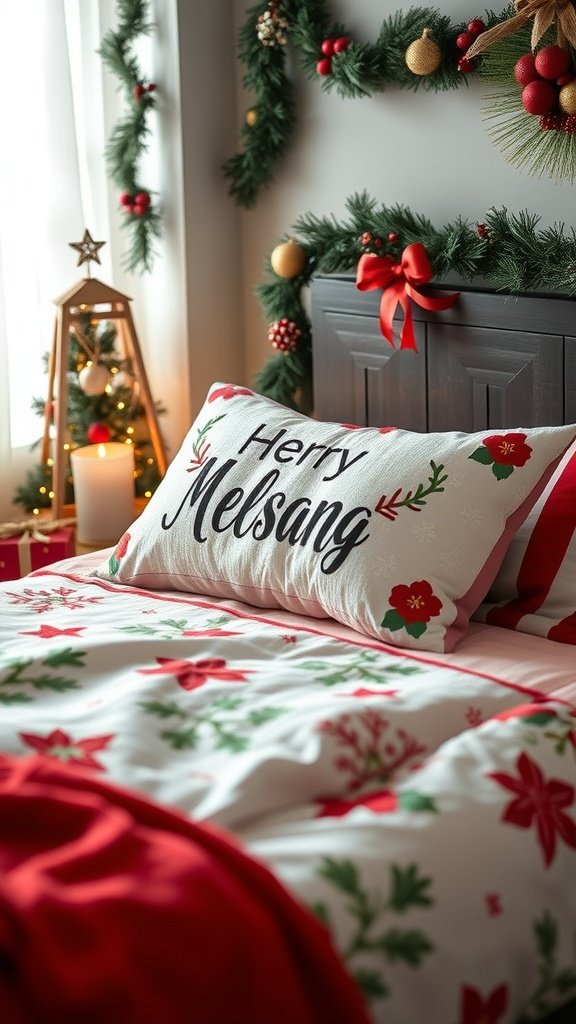
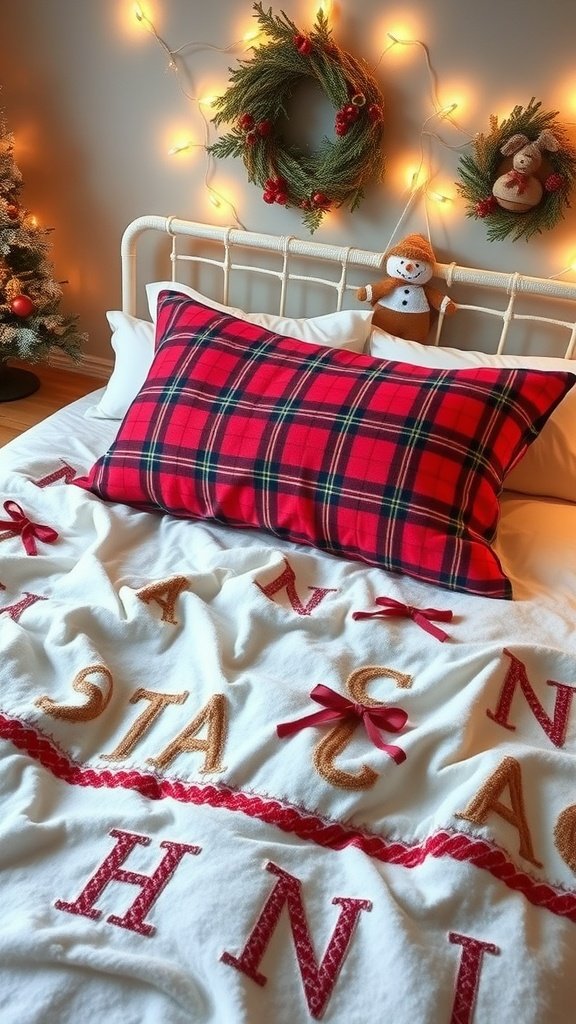
Seasonal pillowcases can bring a festive touch to your home. The image shows a cozy bed adorned with a pillowcase that features a cheerful holiday message. The colors are vibrant, with reds and greens that evoke the spirit of the season.
Creating your own seasonal pillowcase is a fun and easy project. Start by choosing fabric that matches your theme. For a holiday look, consider patterns with snowflakes, holly, or festive colors.
Here are some simple steps to make your pillowcase:
1. **Gather Materials**: You’ll need fabric, a sewing machine, thread, scissors, and a pillow insert.
2. **Cut the Fabric**: Measure your pillow and cut two pieces of fabric. Each piece should be slightly larger than the pillow to allow for seams.
3. **Sew the Edges**: Place the fabric pieces right sides together. Sew along the edges, leaving one side open for the pillow.
4. **Turn Inside Out**: Once sewn, turn the pillowcase inside out. This will hide the seams.
5. **Insert the Pillow**: Finally, place your pillow inside and close the open side with a simple stitch or fabric glue.
Enjoy your new seasonal pillowcase! It’s a great way to refresh your decor and celebrate the season.
Pillowcase with a Monogram
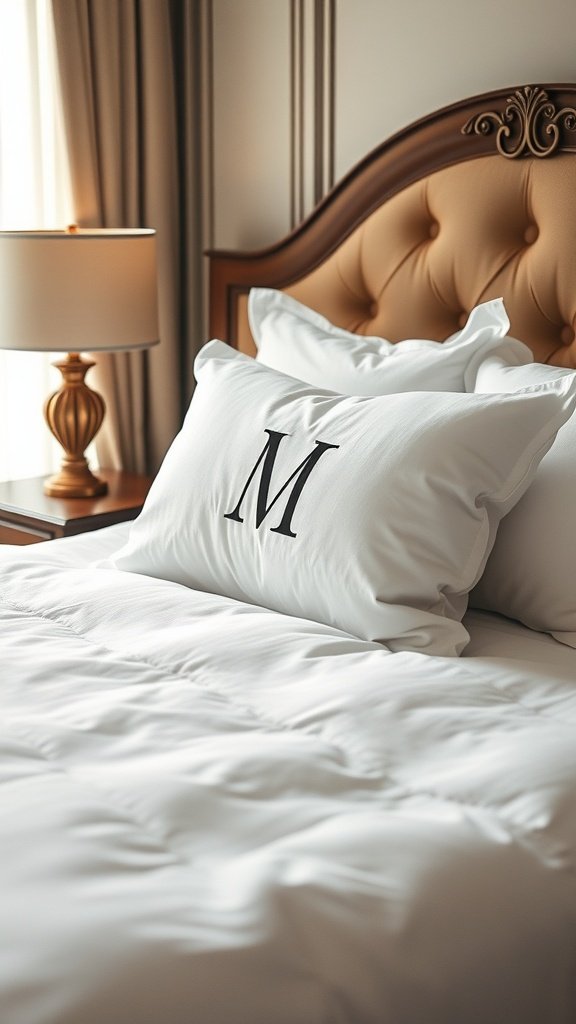
Adding a monogram to your pillowcase is a fun way to personalize your space. It gives a touch of elegance and makes your bedding feel unique. The image shows a beautifully crafted pillowcase with a bold letter ‘M’ prominently displayed. This simple detail can transform a standard pillow into a statement piece.
To create your own monogrammed pillowcase, start with a plain pillowcase in your favorite color. Choose a font style that you love for the monogram. You can use fabric paint, embroidery, or even iron-on transfers for this project. Each method has its charm, so pick what suits you best.
Here are the steps to make your own monogrammed pillowcase:
Gather your materials: a plain pillowcase, fabric paint or embroidery thread, a stencil or template for your monogram, and any tools needed for your chosen method.
If you’re using fabric paint, position your stencil on the pillowcase. Secure it with tape to avoid any slipping.
Carefully apply the paint, following the stencil. Allow it to dry completely before removing the stencil.
If you prefer embroidery, trace your monogram onto the pillowcase lightly with a fabric pencil. Then, stitch over the lines using your chosen embroidery technique.
For iron-on transfers, print your monogram onto transfer paper, cut it out, and follow the instructions to apply it to the pillowcase.
Finally, let everything set according to the instructions for your materials, and then enjoy your stylish new pillowcase!
This project is not only easy but also a great way to add a personal touch to your bedroom decor. Whether for yourself or as a gift, a monogrammed pillowcase is sure to impress!