DIY stenciling projects offer a fun and creative way to enhance your home’s style. Whether you’re looking to add charm to your walls, furniture, or textiles, these 21 DIY stenciling projects for home decor provide inspiring ideas to personalize your space.
Table of Contents
Stenciling allows you to achieve professional-looking designs without needing advanced skills or expensive tools.
From delicate patterns to bold statements, these DIY stenciling projects transform ordinary surfaces into eye-catching features. I remember the first time I stenciled a simple floral design on my living room wall—it instantly brightened the space and sparked my passion for home decor crafting.
Create Stunning Accent Walls with Geometric Stencils

Geometric stencils are perfect for adding modern flair to any room. By choosing shapes like triangles, hexagons, or chevrons, you can create a stylish accent wall that draws attention and complements your existing decor.
This approach works well with contrasting colors or subtle tones for a more understated look.
Steps:
- Select a geometric stencil design and paint colors.
- Prepare the wall by cleaning and priming it if needed.
- Secure the stencil to the wall using painter’s tape.
- Apply paint with a sponge or roller, then carefully remove the stencil.
- Repeat the pattern across the desired wall area.
- Allow paint to dry completely before adding furniture back.
Personalize Wooden Furniture with Floral Stencil Designs

Transform plain wooden furniture pieces by adding delicate floral stencil designs. This DIY method breathes new life into tables, chairs, or cabinets, giving them a charming and personalized touch.
Floral patterns bring warmth and nature-inspired beauty indoors.
Steps:
- Choose a floral stencil that matches your style.
- Clean and sand the furniture surface for better paint adhesion.
- Position and tape the stencil securely on the wood.
- Use a small brush or sponge to apply paint gently.
- Remove the stencil carefully to avoid smudging.
- Allow paint to dry, then seal with a clear finish if desired.
Decorate Plain Curtains with Leafy Stencil Patterns

Adding leafy stencil patterns to plain curtains is an easy way to introduce texture and interest to your windows. This project works well on cotton or linen fabrics and can be customized with different leaf shapes and paint colors to match your decor theme.
Steps:
- Select leaf-shaped stencils and fabric paint.
- Lay the curtains flat on a protected surface.
- Secure the stencil in place with tape or weights.
- Apply fabric paint using a sponge or brush in even layers.
- Lift the stencil carefully and repeat the pattern.
- Let the paint dry completely before hanging the curtains.
Add Charm to Throw Pillows with Mandala Stencils

Mandala stencils can instantly upgrade your throw pillows, turning them into unique decor pieces. These intricate circular designs create a focal point and add an artistic vibe to sofas or beds.
The project allows for creativity in color choices and layering effects.
Steps:
- Pick mandala stencil designs and fabric paint colors.
- Place the pillow cover on a flat surface with cardboard inside.
- Secure the stencil on the fabric and apply paint carefully.
- Remove stencil and repeat if desired for a layered look.
- Allow paint to dry fully before using the pillow cover.
Transform Plain Lampshades with Abstract Stenciling

Abstract stenciling on lampshades is a creative way to add personality and style to your lighting. Using bold shapes or splatter-inspired patterns, you can create a modern look that complements your room’s color palette and ambiance.
Steps:
- Choose abstract stencil patterns and suitable paint.
- Remove the lampshade and place it on a protected surface.
- Secure the stencil with tape and apply paint with a sponge.
- Repeat the stencil pattern around the lampshade.
- Let the paint dry completely before reattaching the shade.
Brighten Up Floors with Decorative Stenciled Rugs

DIY stenciling on plain rugs or even directly on hardwood floors can add a splash of design and character. Using durable floor paint and decorative patterns, you can create custom rugs or accents that stand out in any room.
Steps:
- Select a stencil pattern suited for floor use.
- Clean the rug or floor surface thoroughly.
- Position the stencil and secure it with tape.
- Apply floor paint with a roller or sponge.
- Remove the stencil carefully and allow to dry.
- Seal the painted area with a protective finish if needed.
Add Elegance to Cabinets with Vintage Stencil Motifs

Vintage stencil motifs can give your kitchen or bathroom cabinets a timeless and elegant look. Floral wreaths, scrolls, or damask patterns can be applied to cabinet doors to refresh and personalize your storage spaces.
Steps:
- Choose vintage-style stencil designs.
- Clean and lightly sand cabinet surfaces.
- Secure stencil on cabinet door and apply paint.
- Remove stencil and repeat as needed.
- Finish with a clear protective coat.
Create Unique Wall Art with Layered Stencil Techniques

Layering multiple stencil designs and colors can produce one-of-a-kind wall art pieces. This technique allows you to experiment with depth and texture, resulting in a visually captivating decoration for any room.
Steps:
- Select several stencil designs that complement each other.
- Plan the layering order and color scheme.
- Apply the first stencil, let it dry.
- Add additional stencil layers with different colors.
- Allow the artwork to dry completely before hanging.
Customize Glassware with Frosted Stencil Patterns

Frosted glass spray combined with stenciling offers a beautiful way to personalize glassware or windows. You can create privacy screens or decorative accents with elegant patterns that catch the light subtly.
Steps:
- Choose stencil designs suitable for glass surfaces.
- Clean glass thoroughly and dry.
- Secure stencil and spray frosted glass paint evenly.
- Remove stencil carefully and let dry.
- Repeat for multiple pieces if desired.
Upgrade Kitchen Backsplash with Mosaic Stencil Designs

Use mosaic stencils on your kitchen backsplash to add color and pattern without a full renovation. This method is budget-friendly and offers endless design possibilities, making your kitchen more inviting and stylish.
Steps:
- Select mosaic-style stencil and suitable paint.
- Clean backsplash surface thoroughly.
- Tape stencil in place and apply paint carefully.
- Repeat pattern across backsplash area.
- Allow paint to dry and seal with clear coat.
Design Stylish Ceiling Borders with Decorative Stencils

Adding stencil borders along ceiling edges can beautifully frame your room and add architectural interest. Choose patterns like vines, waves, or geometric shapes for a subtle but effective upgrade.
Steps:
- Pick a border stencil design and paint colors.
- Use painter’s tape to mark ceiling edges.
- Secure stencil and apply paint evenly.
- Repeat the pattern around the room perimeter.
- Touch up edges and let dry completely.
Revamp Plain Planters with Tropical Leaf Stencils
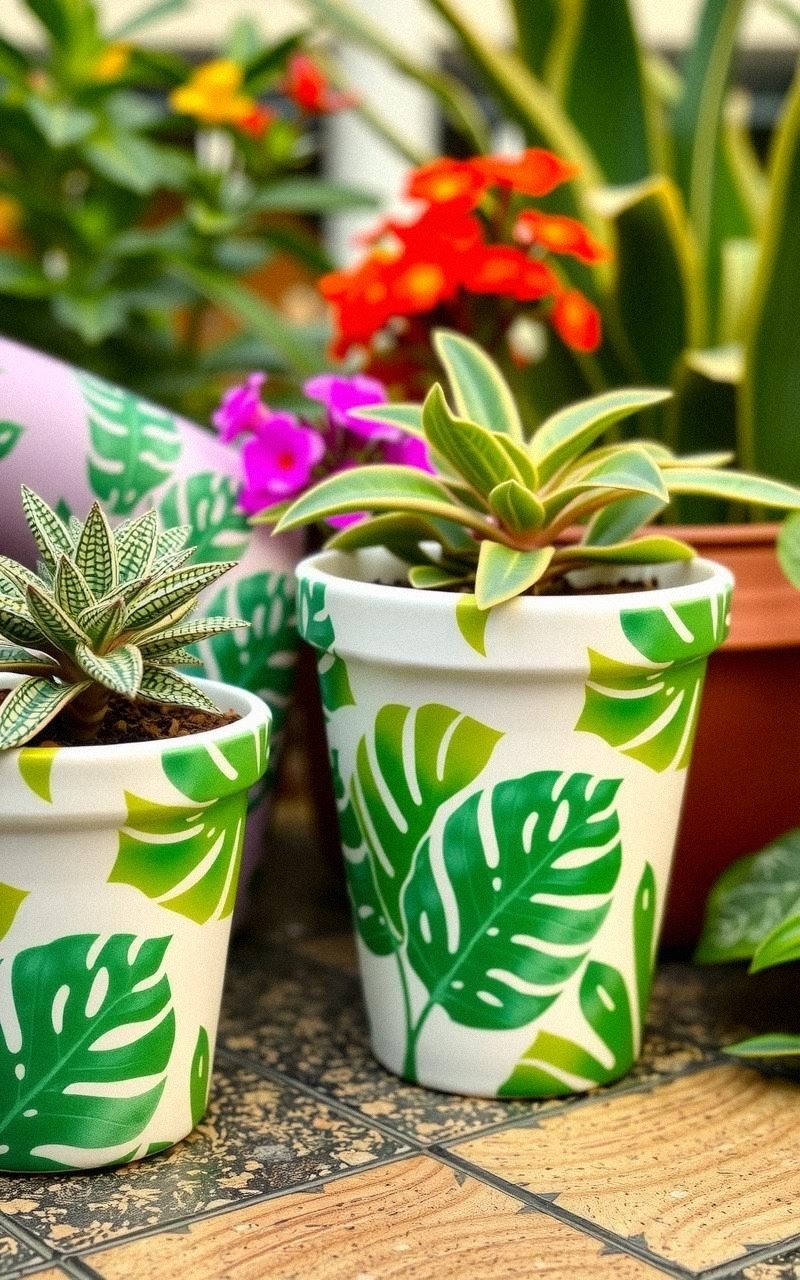
Give your indoor or outdoor planters a fresh look by stenciling tropical leaf patterns. This adds a natural vibe and a pop of color that complements your plants and garden space.
Steps:
- Choose tropical leaf stencil and outdoor paint.
- Clean planter surface and let dry.
- Tape stencil securely and apply paint.
- Remove stencil and repeat around planter.
- Allow paint to dry before planting.
Make Personalized Welcome Mats Using Name Stencils
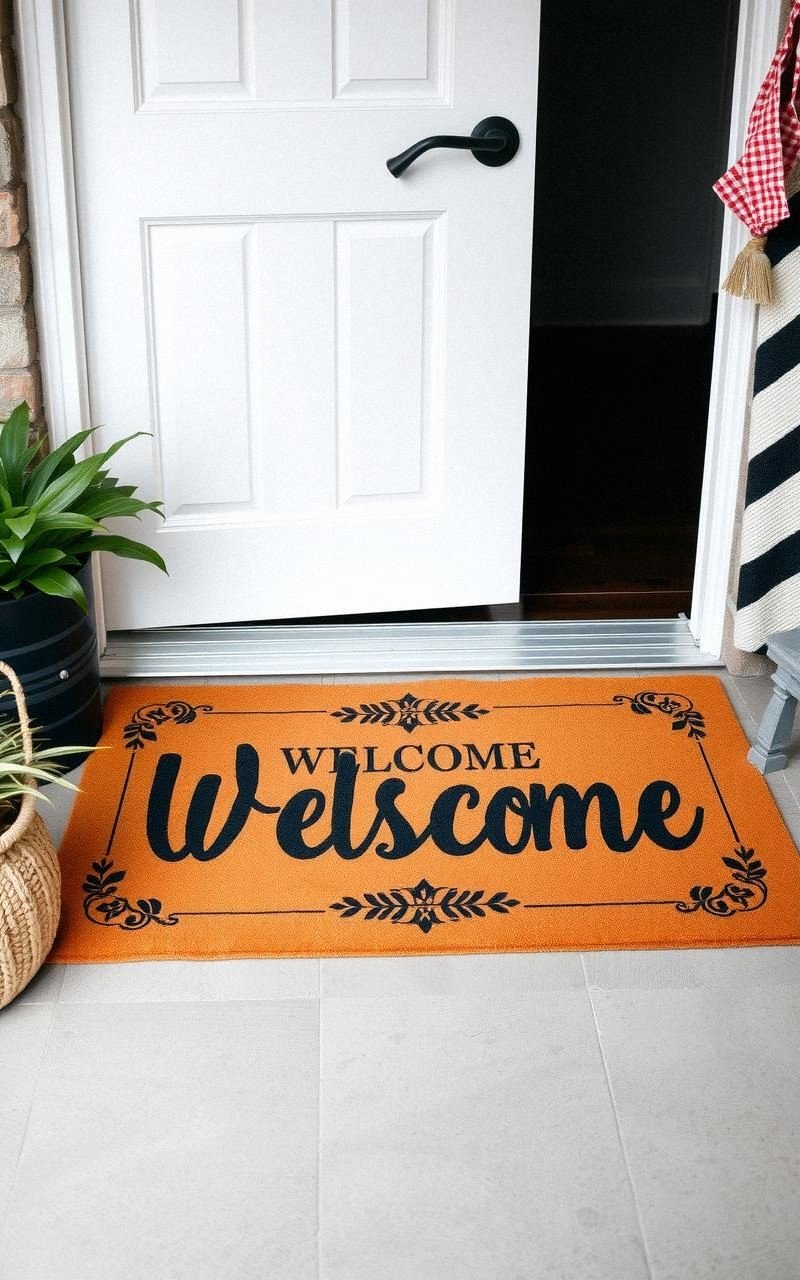
Create a warm entrance by stenciling your family name or a welcoming message on a plain doormat. This simple DIY project adds personality and greets guests with style.
Steps:
- Select name or message stencil and outdoor paint.
- Clean doormat surface.
- Position stencil and secure with tape.
- Apply paint evenly and carefully.
- Remove stencil and let dry before use.
Add Playful Patterns to Toy Storage Boxes with Animal Stencils

Brighten children’s rooms by decorating toy storage boxes with fun animal stencil designs. This makes organization more enjoyable and adds cheerful decor to the space.
Steps:
- Choose animal stencil designs and vibrant paint colors.
- Clean and sand box surfaces if needed.
- Secure stencil and apply paint with a sponge.
- Remove stencil and repeat as desired.
- Let paint dry fully before use.
Refine Bathroom Tiles with Minimalist Pattern Stencils

Use stencil patterns on bathroom tiles to refresh the space without costly re-tiling. Minimalist designs in neutral colors can create a spa-like atmosphere that feels clean and modern.
Steps:
- Select waterproof paint and tile-safe stencil designs.
- Clean tiles thoroughly and dry.
- Apply stencil and carefully paint.
- Remove stencil and repeat pattern.
- Allow paint to cure before exposing to water.
Craft Custom Wall Clocks with Circular Stencil Patterns
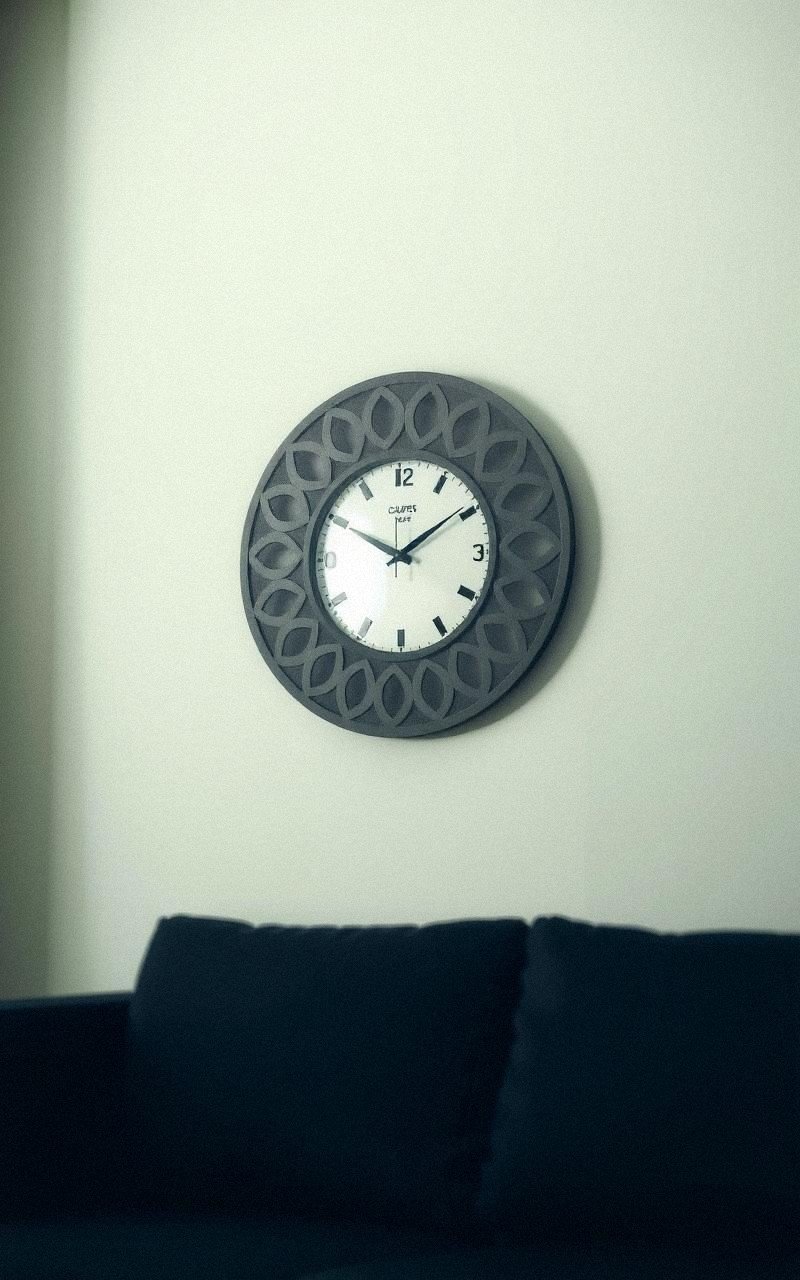
Enhance a plain wall clock by stenciling circular or radial patterns around its face. This adds visual interest and turns a functional item into a statement piece.
Steps:
- Choose circular stencil designs and paint colors.
- Remove clock and place face on flat surface.
- Secure stencil around clock face and apply paint.
- Let paint dry thoroughly before reassembling.
- Hang clock and enjoy the new look.
Brighten Doors with Striped or Chevron Stencil Patterns
![]()
Doors can become focal points with striped or chevron stencil designs. This project adds personality to entryways or interior doors and complements various decor styles.
Steps:
- Pick stripe or chevron stencil and paint colors.
- Clean door surface and remove hardware if needed.
- Align stencil and tape in place.
- Apply paint in thin, even coats.
- Remove stencil and let door dry before rehanging.
Create Cozy Fireplace Surrounds with Brick Stencil Art

If you want the look of brick without the cost, stencil brick patterns around your fireplace. This adds texture and warmth, enhancing the hearth’s cozy feel.
Steps:
- Choose a realistic brick stencil and paint colors.
- Clean fireplace surround surface.
- Secure stencil and apply paint carefully.
- Repeat pattern and allow to dry fully.
- Seal with heat-resistant clear coat if needed.
Add Artistic Touches to Ceiling Fans with Fan Blade Stencils

Decorate ceiling fan blades with subtle stencil patterns to elevate a functional fixture into an art piece. Choose designs that complement your ceiling and room colors.
Steps:
- Remove fan blades and clean thoroughly.
- Select stencil designs and paint colors.
- Secure stencil on each blade and apply paint.
- Allow paint to dry before reinstalling blades.
Refresh Stair Risers with Colorful Patterned Stencils

Stair risers offer a great canvas for stenciling colorful and patterned designs. This adds visual interest to an often-overlooked area and brings personality to your staircase.
Steps:
- Choose stencil patterns and coordinating paint colors.
- Clean stair risers thoroughly.
- Tape stencil securely and paint each riser.
- Repeat for all risers and allow to dry fully.
Design Unique Coasters with Small Scale Stencil Art

Small wooden or cork coasters become personalized gifts or decor when decorated with small-scale stencil art. Choose simple or intricate designs depending on your style.
Steps:
- Select small stencil designs and suitable paint.
- Clean coaster surface.
- Secure stencil and apply paint carefully.
- Remove stencil and let dry before use.